Let’s talk charcuterie…
Is there anything more magical than a gorgeous charcuterie board? I am obsessed with cheese, and I love nothing more than when a ton of cheese is piled onto one giant platter. Hi. It wasn’t until probably a year ago, that I researched + learned the anatomy of the perfect cheese board. The key is in creating a combination of flavors + textures. Sweet, savory, crunchy, smooth, bold, etc. You can have fun with this!
This is how it used to go: I would go to the cheese section at the grocery store, get overwhelmed, start Googling *charcuterie board*, panic, buy WAY too much random cheese + end up spending a ridiculous amount of money. Then I would get home + have no clue what to do with all of it. Sound familiar? Well, say goodbye to those days, because I’m going to teach you how it’s done.
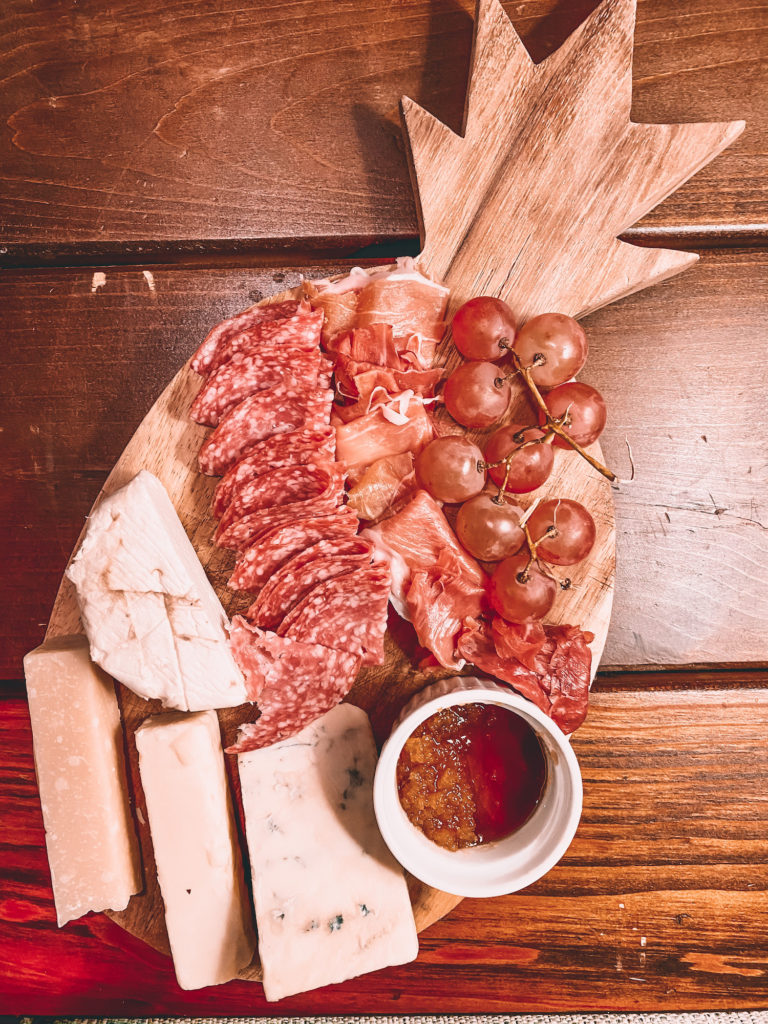
Step #1 – You need a stunning cheese board.
I have a wood board shaped like a pineapple from Crate + Barrel and it is honestly my most prized possession. This platter from Anthropologie is also awesome; they have the most AMAZING cheese boards by the way.
Step #2 – You need some stunning cheese knives.
I love these cheese knives from Crate + Barrel they are so heavy-duty and lovely. They come in a nice little cloth wrap, I love pulling it out for dinner parties.

Step #3 – Pick one cheese from each of these categories…
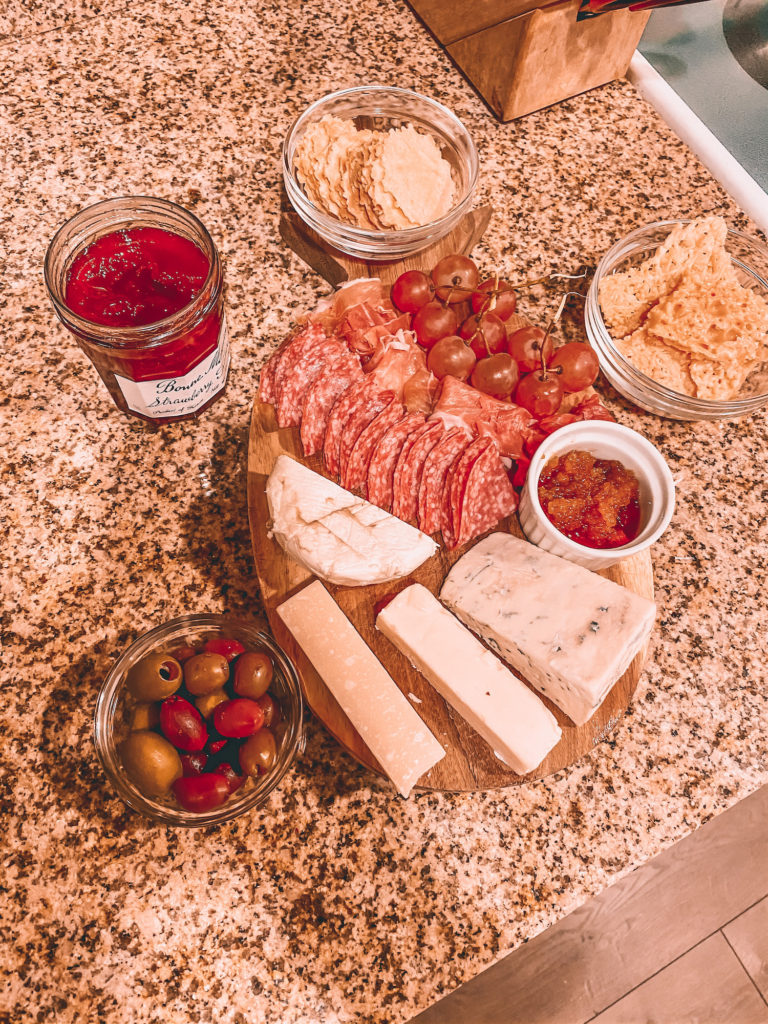
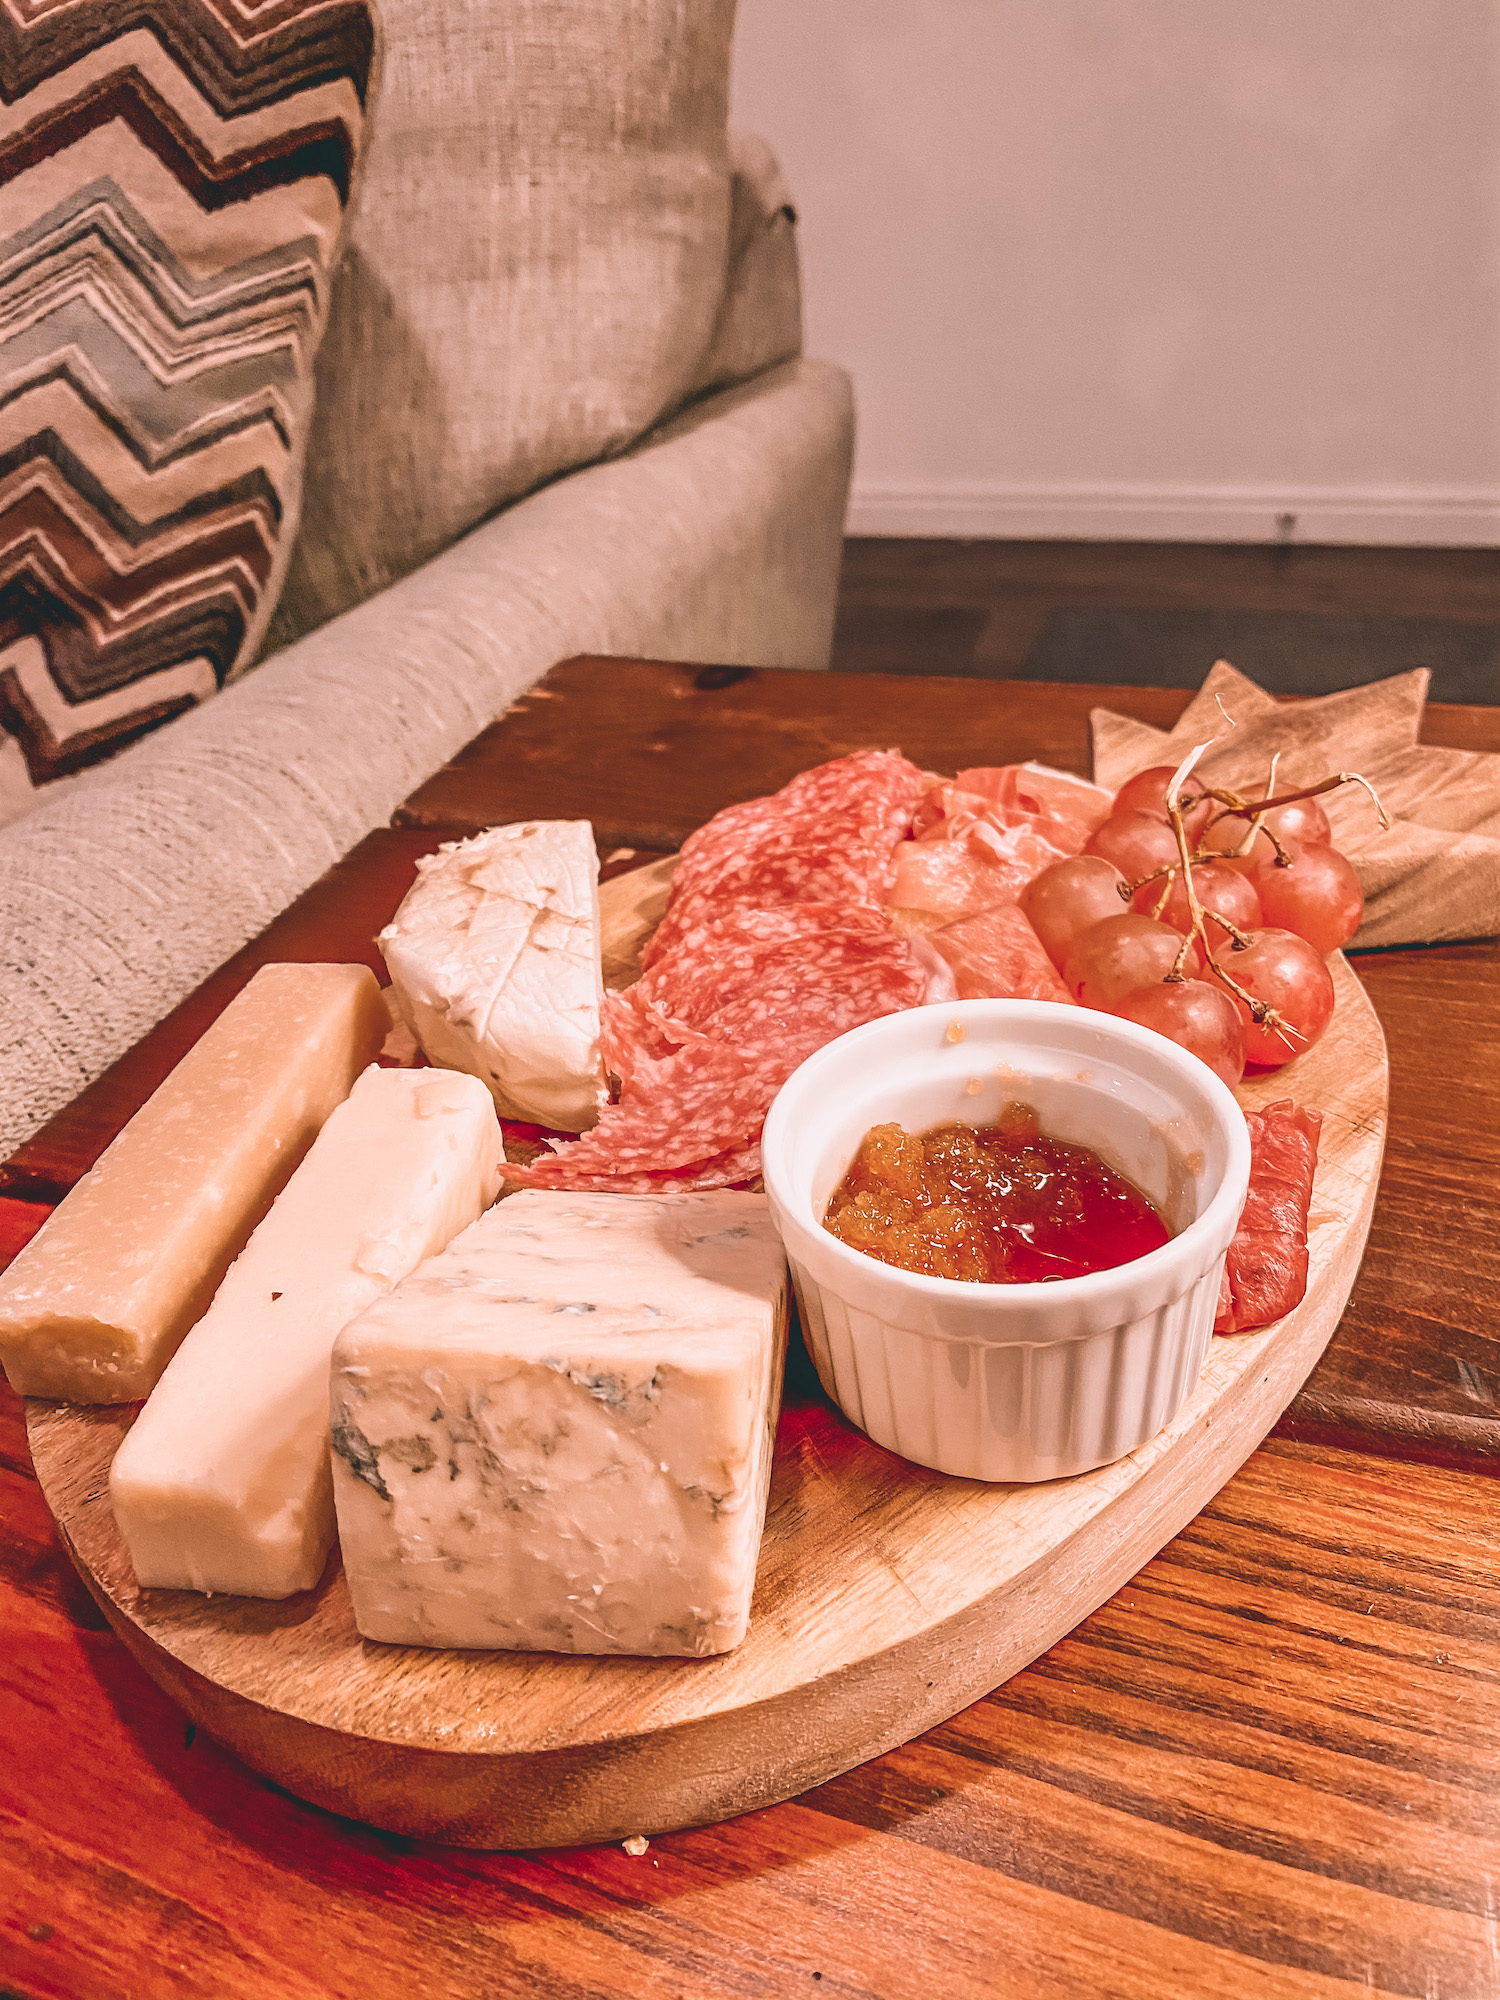
To make this easier, let’s divide cheese into 4 categories: soft, semi-hard, stinky, and aged. pick one of each for your board. My standard cheese board always contains the following: goat (soft), blue cheese (stinky), cheddar (semi-hard), parmesan (aged). Here are some more options for each category:
SOFT CHEESE:
Goat, Brie, Camembert
SEMI-HARD CHEESE:
Cheddar, Gruyere, Gouda
STINKY CHEESE:
Blue, Gorgonzola, Roquefort
AGED/HARD CHEESE:
Parmesan, Asiago, Pecorino

Step #4 – Add some cured meat.
This part is easy! I usually always have salami + prosciutto. But doing just one is totally fine! Here are some more options:
CHARCUTERIE MEAT:
Prosciutto (Italian ham), Salami, Copa (cured pork shoulder), Cured sausages.
Step #5 – Pick a fruit.
I always go with grapes because everyone loves grapes, and they are always in season. But here are some other options: Strawberries, blackberries, figs.
Step #6 – Pick a jam or a spread.
I typically go with an apricot or strawberry jam. Ahhhhh-mazing. Here are some other ideas:
JAMS + SPREADS:
Apricot jam, Strawberry jam, Fig butter, Olive tapenade, Pate.
Step #7 – Crackers.
I love crisps, you can get them at any grocery store! How you display them is totally up to you. Have fun, and get creative.
Step #8 – Add olives.
I always just use a medley of Greek Olives from the deli section. I just put them in a little bowl!
Step #9 – Add honey or honeycomb.
I firmly believe honey should always accompany cheese. I’m drooling just thinking about it. If you can find it at the grocery store, try getting a fresh slab of honeycomb! It is a fun alternative to actual honey, and it is like crack. SO GOOD!
Step #10 – Pick a little finger snack.
It’s always nice to have something small for your guests to munch on without having to do any work (like spreading, cutting, etc.). The parmesan crisps from Harmons are amazing! They will be on every one of my charcuterie boards from here on out.
OPTIONS FOR AN EXTRA SNACK
Nuts (almonds, cashews, macadamia), Mini/Flavored crackers, Raisins, Mini Pickles